There’s something timeless about Christmas crafts—the smell of glue, a floor covered in glitter, and proud little faces showing off what they made “all by themselves.” These easy Christmas crafts for kids are not just fun—they build fine motor skills, creativity, and lasting memories. Whether you’re a parent looking for rainy-day projects or a teacher planning classroom activities, this guide offers step-by-step, budget-friendly crafts anyone can make with simple materials.
Each project below is designed for real-life success—no impossible Pinterest fails, no fancy tools, just joy, color, and festive sparkle.
Fun and Simple Christmas Crafts Kids Can Make at Home or School
1. Handprint Wreath
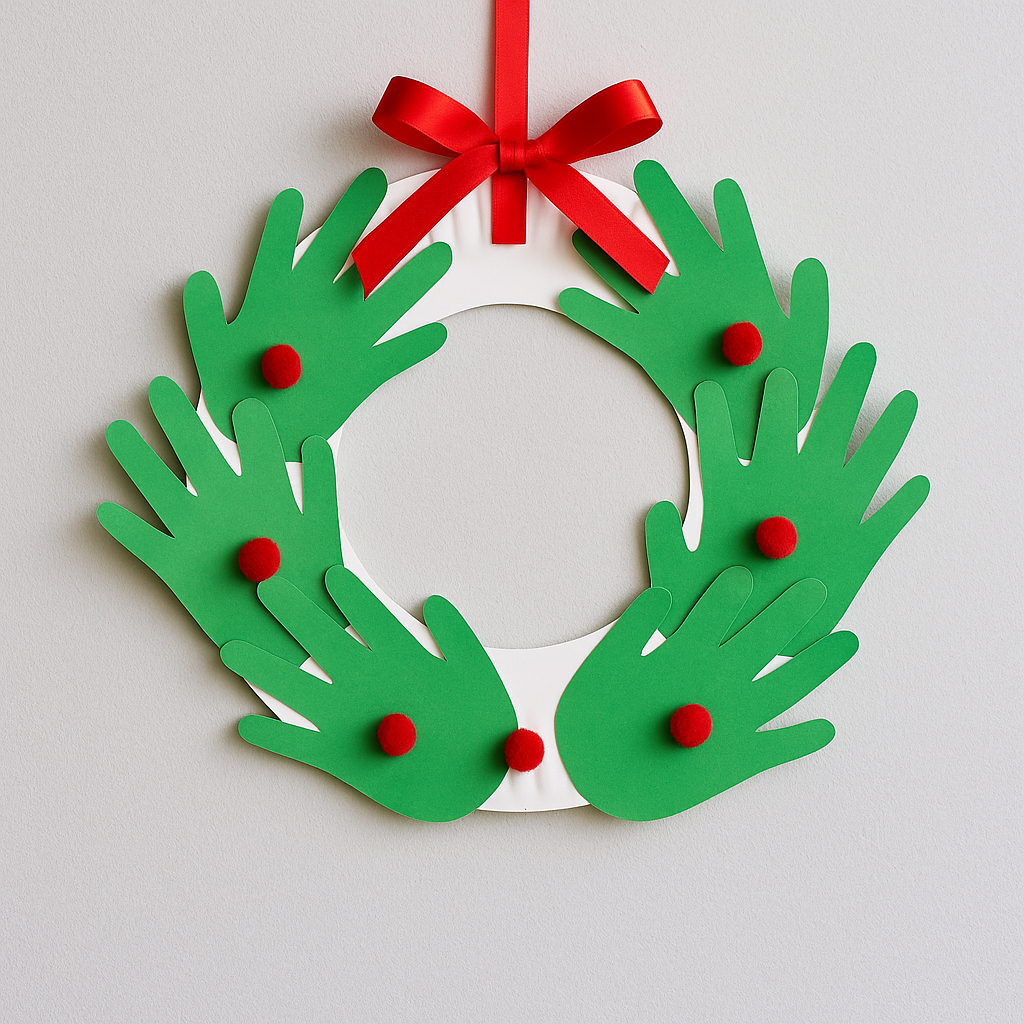
Best for ages: 3–8
Theme: Keepsake / Family craft
Materials:
- Paper plate
- Green cardstock (two shades if possible)
- Red pom-poms or sequins
- Ribbon
- Glue, scissors, pencil
- Optional: paint, glitter
Instructions:
- Cut out the center of the paper plate, leaving a circular ring.
- Trace and cut several green handprints from cardstock.
- Glue handprints around the ring, overlapping slightly to form leaves.
- Decorate with red pom-poms and sequins as berries.
- Tie a ribbon bow at the top for hanging.
Tip: Write each child’s name on their handprint if multiple children help—it becomes a sentimental decoration year after year.
2. Paper Plate Baubles

Best for ages: 2–6
Theme: Color & creativity
Materials:
- Paper plates
- Colored tissue paper, foil, or wrapping scraps
- Glue stick
- Pipe cleaner or yarn
- Small square of black paper
Instructions:
- Give each child a plate and scraps of colorful paper.
- Have them glue or collage the pieces onto the plate surface.
- Punch a small hole at the top and loop a pipe cleaner through for hanging.
- Cover the hole with the black paper square to mimic the metal top of a real ornament.
SEO Tip: Parents searching for “Christmas crafts with paper plates” will love this easy, no-mess project.
3. Paper Plate Angel
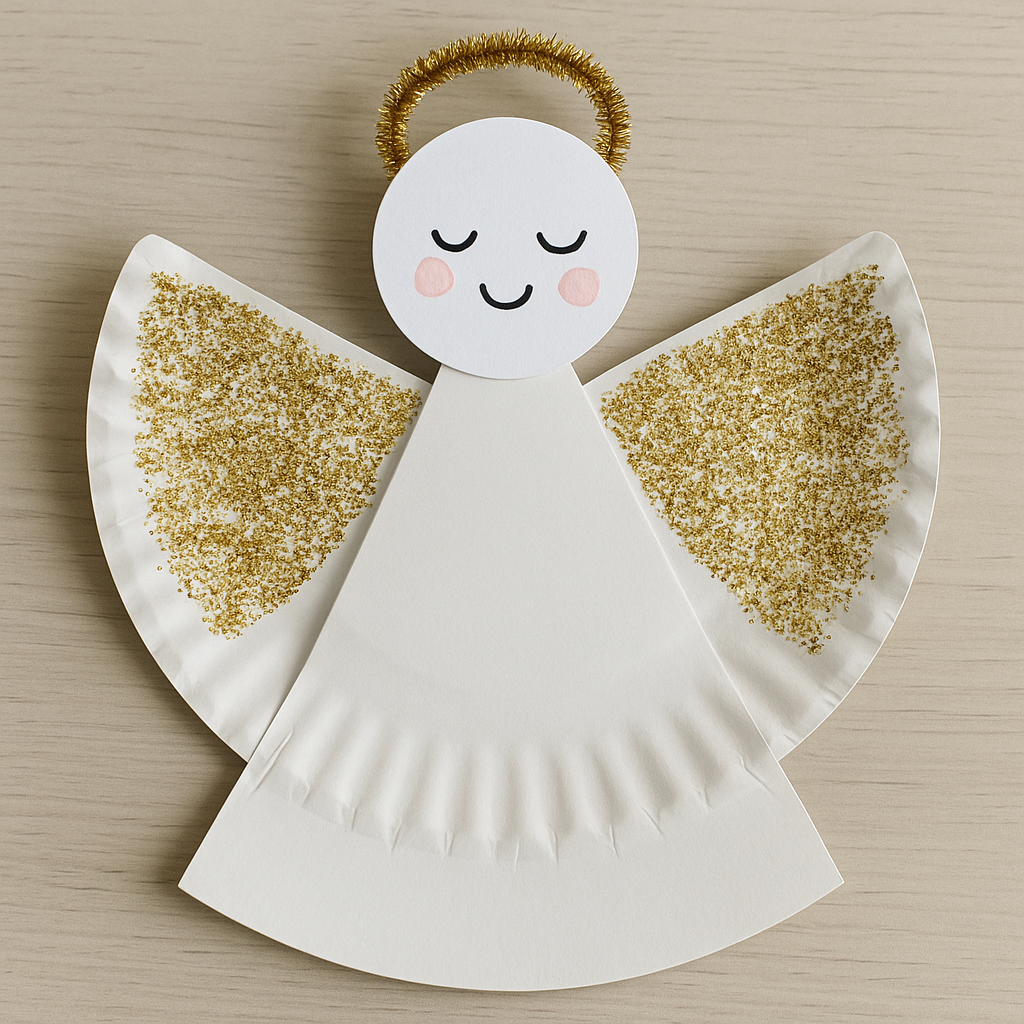
Best for ages: 4–9
Theme: Traditional / spiritual
Materials:
- Paper plate
- White paper circle (face)
- Glitter or gold paint
- Gold pipe cleaner (halo)
- Glue, tape, markers
Instructions:
- Cut a deep triangle from the plate’s edge to form wings and a gown.
- Add glitter to the wings and draw a face on the paper circle.
- Attach the face at the top and glue a halo behind it.
Variation: Use coffee filters for delicate wings.
4. Salt Dough Handprint Ornaments
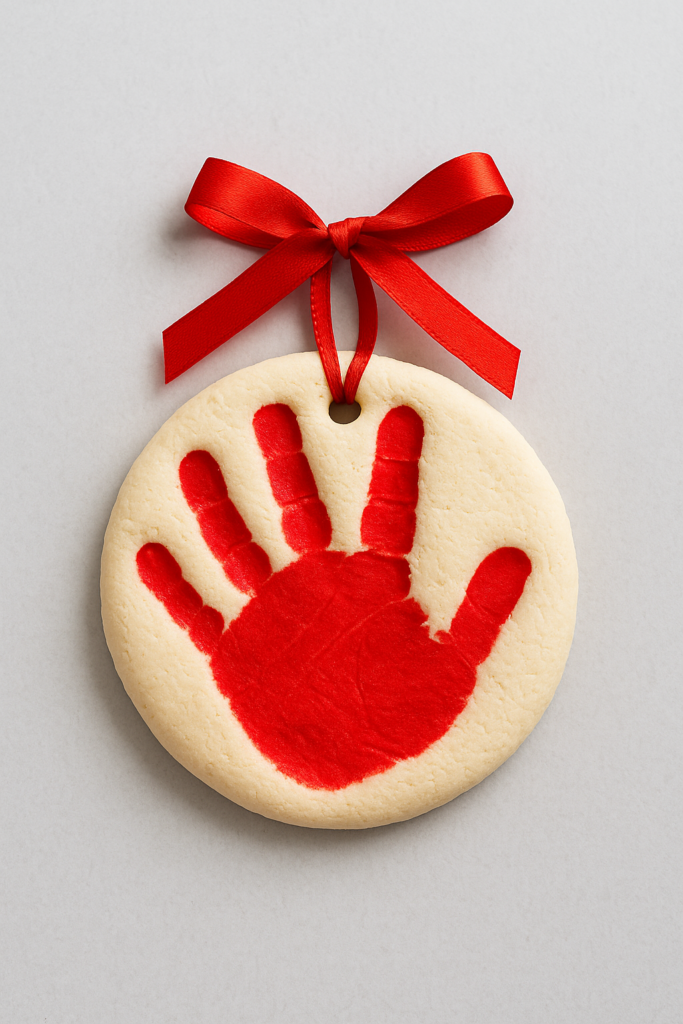
Best for ages: 3–10
Theme: Keepsake / family
Materials:
- 2 cups flour
- 1 cup salt
- 1 cup warm water
- Acrylic paint
- Mod Podge or clear varnish
- Ribbon
Instructions:
- Mix flour, salt, and water to form a dough. Knead until smooth.
- Roll out to ¼ inch thick and press a child’s hand firmly.
- Cut around the print and poke a hole for the ribbon.
- Bake at 120°C until hard (1–2 hours).
- Paint, seal, and add the ribbon.
Result: An heirloom-worthy ornament to cherish every Christmas.
5. DIY Fake Snow
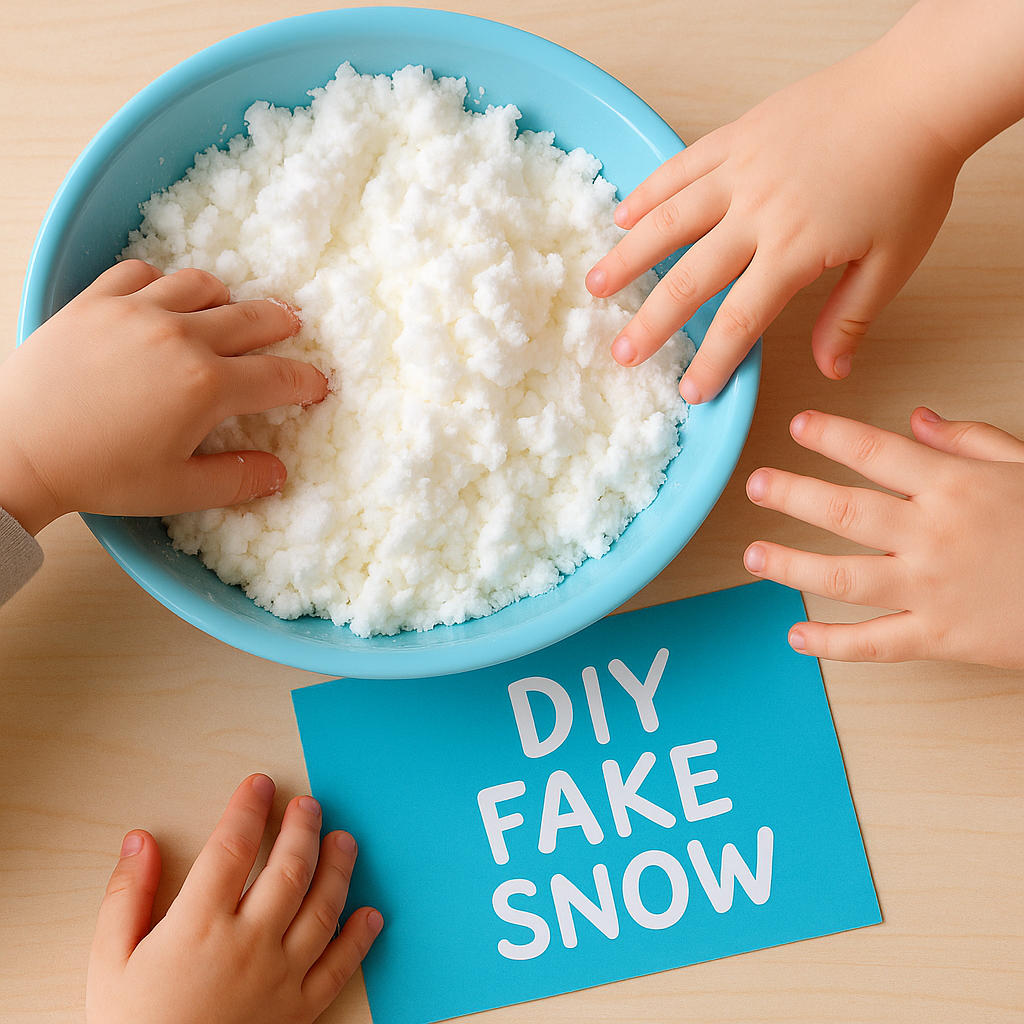
Best for ages: 3–12
Theme: Sensory play
Method 1 – Baking Soda & Shaving Foam:
Mix 200 g baking soda with shaving foam until it looks fluffy and snow-like.
Method 2 – Baking Soda & Conditioner:
Combine 200 g baking soda with 2 tbsp hair conditioner for softer, moldable snow.
Method 3 – Cornflour & Water:
Mix equal parts cornflour and baking soda, add a little cold water, and knead for a crumbly “snow sand.”
Play ideas: Build tiny snowmen, fill jars for decoration, or create a sensory bin.
6. Reindeer Headband
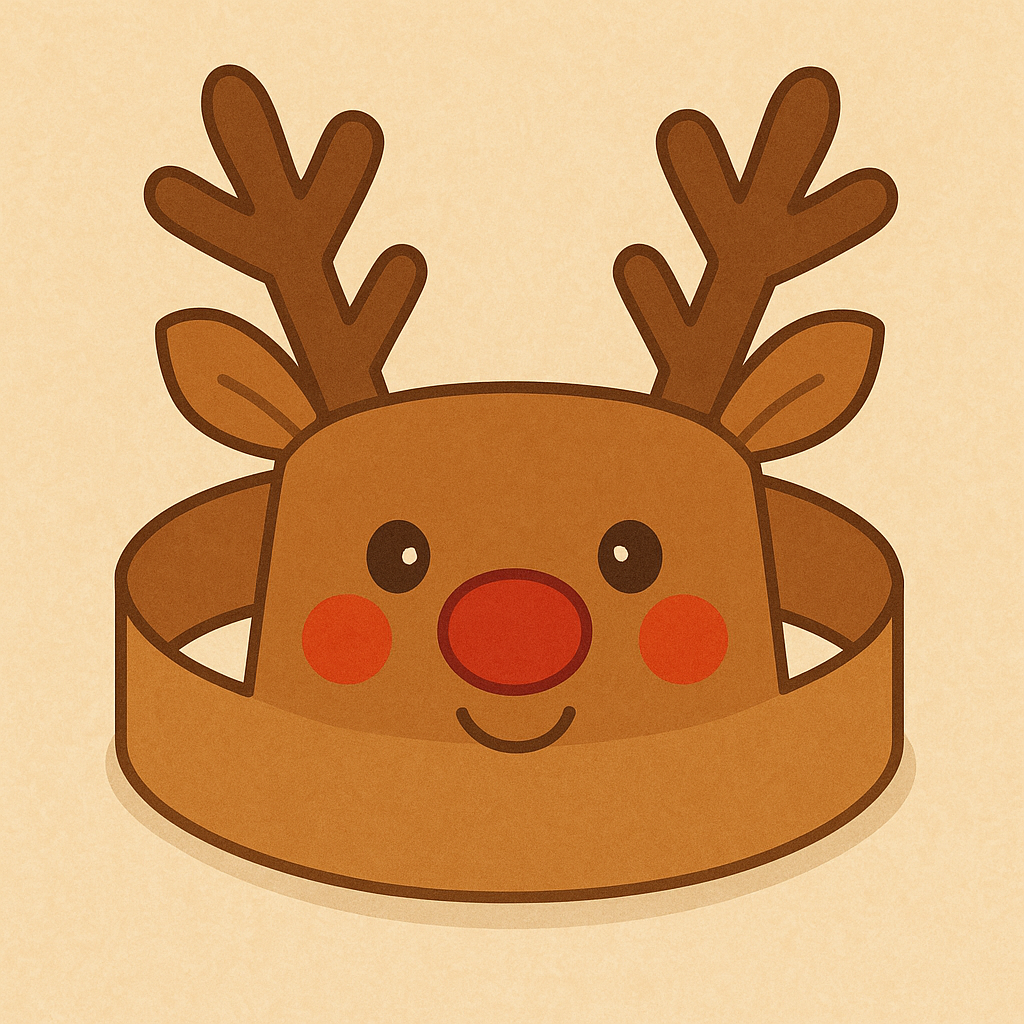
Best for ages: 3–7
Materials:
- Brown cardstock
- Reindeer template or printed outline
- Pink paper (cheeks)
- Glue, scissors, tape
Instructions:
- Cut and decorate the reindeer face with eyes, nose, and cheeks.
- Glue antlers and attach paper strips on each side to fit around the head.
- Tape together to size.
Result: Perfect for Christmas parties or school plays.
7. Snowflake-Stamped Gift Bags
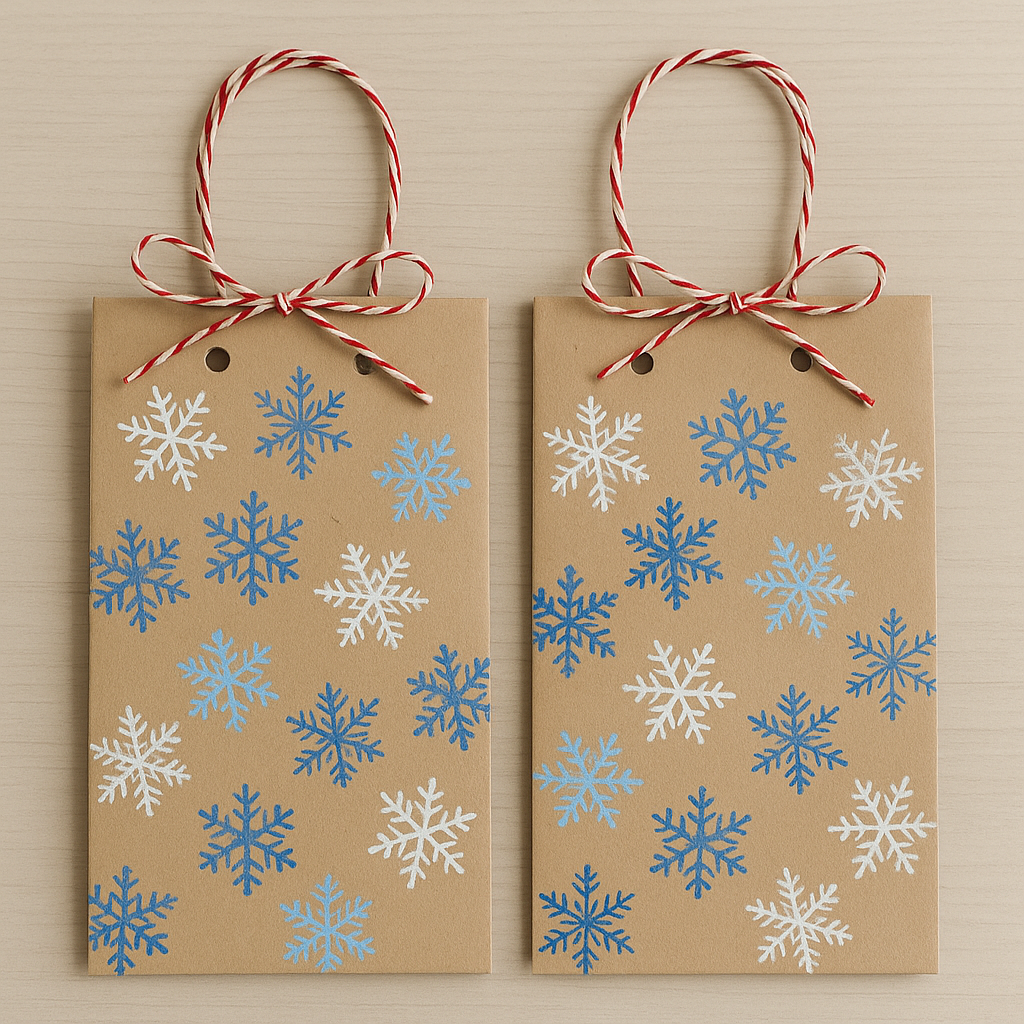
Best for ages: 5–10
Theme: DIY wrapping
Materials:
- Plain paper bags
- Snowflake stamps
- Blue and white ink pads
- Hole punch, baker’s twine
Instructions:
- Stamp snowflake patterns across the bags.
- Punch holes and thread twine to create handles or tie shut with a bow.
Eco bonus: A great way to personalize wrapping while reducing plastic waste.
8. Thumbprint Reindeer Card
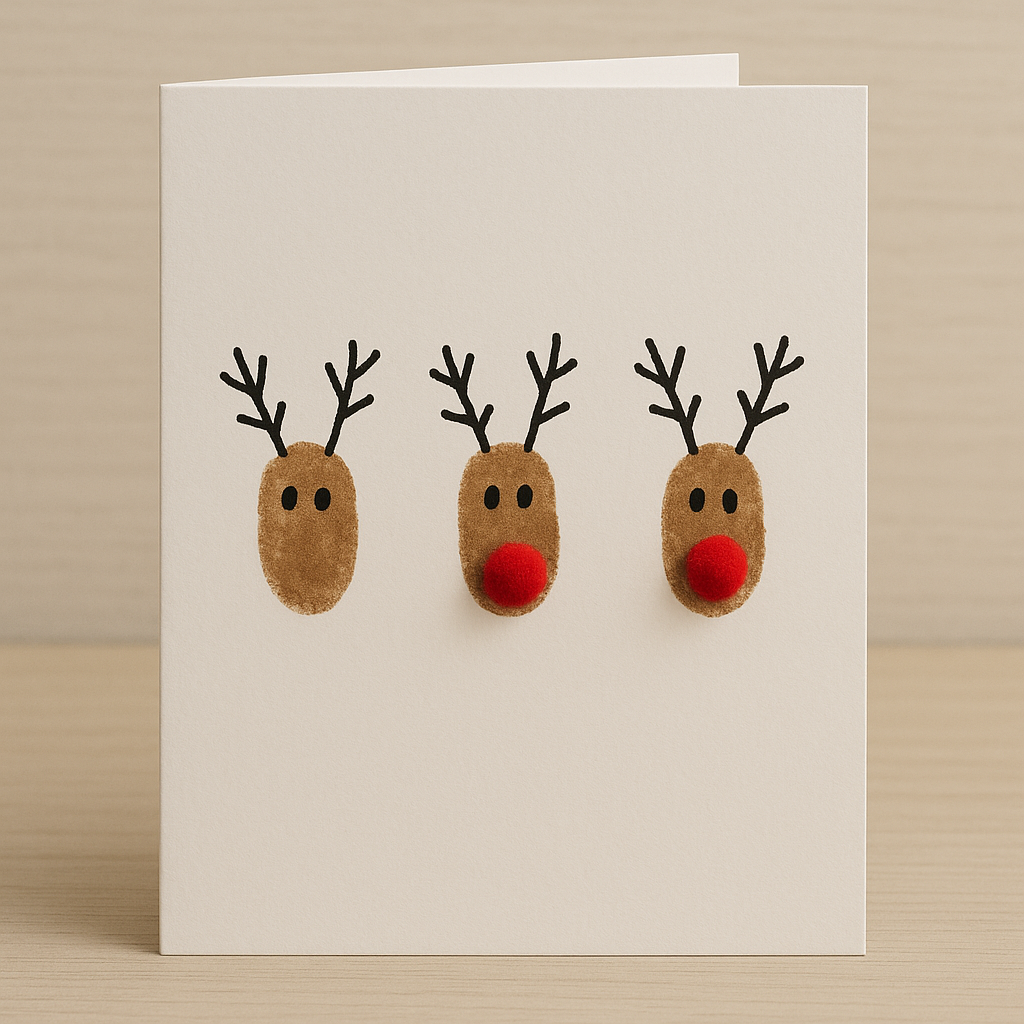
Best for ages: 2–8
Theme: Greeting cards
Materials:
- White cardstock
- Brown paint
- Black marker, red pom-pom
Instructions:
- Have kids dip thumbs in brown paint and press onto the card.
- When dry, draw eyes and antlers.
- Add a red nose with a pom-pom or marker.
Tip: Turn each thumbprint into a reindeer family—adorably personal holiday cards.
9. Family Handprint Tree
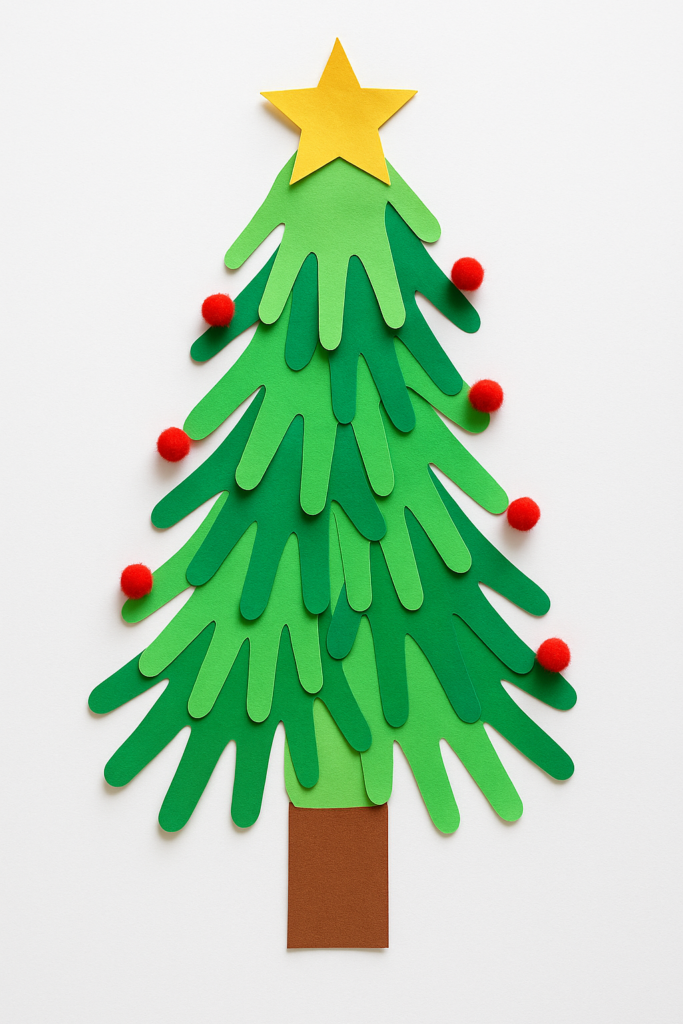
Materials:
- Green paper
- Cardboard backing
- Glue
- Small decorations (stars, sequins)
Instructions:
- Trace and cut each family member’s handprint, from largest to smallest.
- Layer them in a triangle shape to form a tree.
- Decorate and label each hand with a name or year.
Result: A heartwarming craft celebrating togetherness.
10. Tissue Paper Wreath
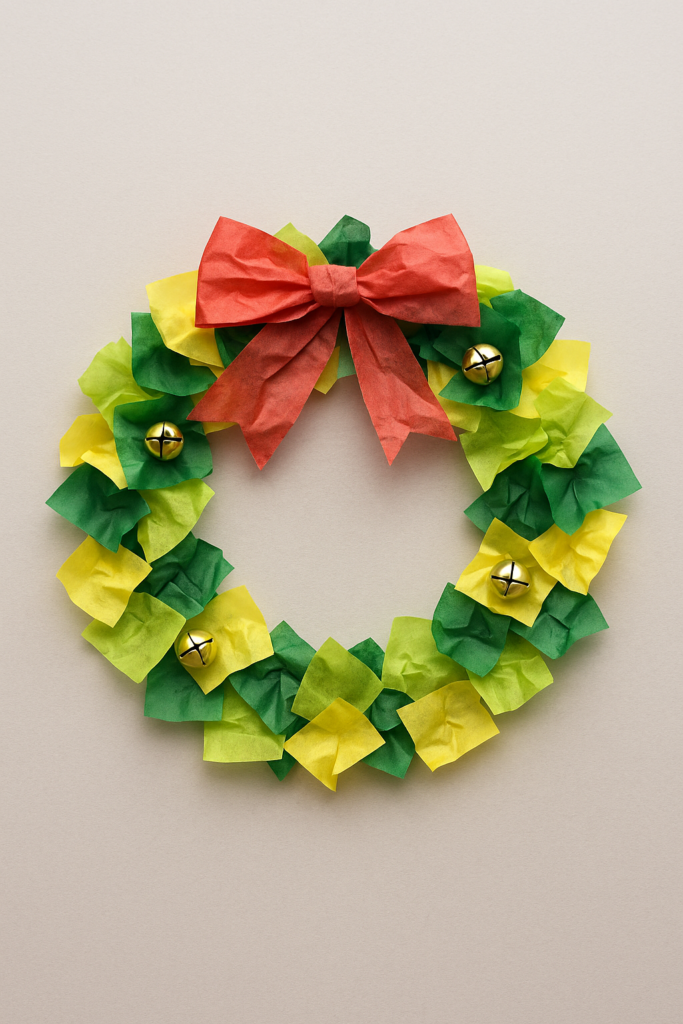
Materials:
- Cardboard or paper plate ring
- Tissue paper squares
- Glue
- Ribbon
Instructions:
- Roll tissue paper squares into small crumpled balls.
- Glue them densely around the ring for texture.
- Add ribbon for hanging.
Variation: Mix red, green, and white for a festive touch.
11. Jingle Bell Wreath
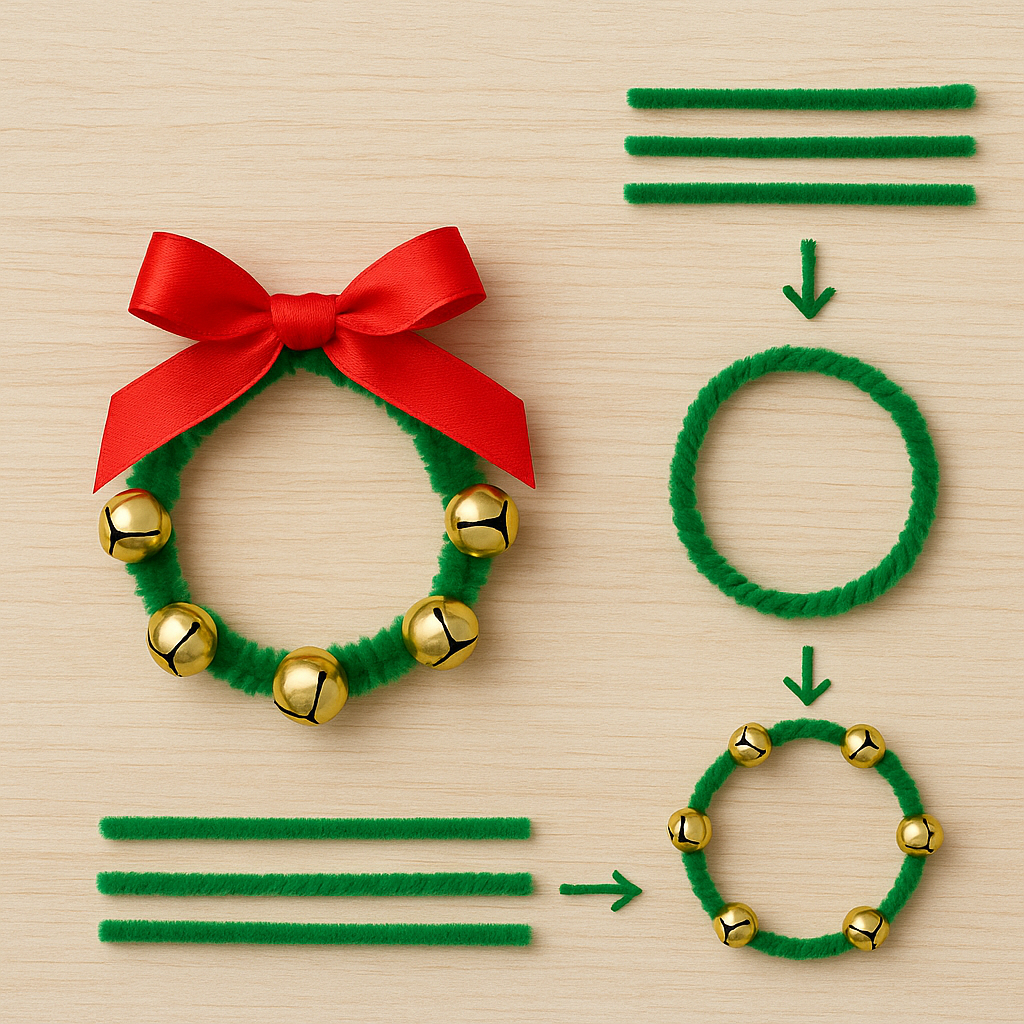
Materials:
- Small jingle bells
- Thin wire or hoop
- Ribbon and greenery
Instructions:
- Thread bells onto wire, securing each with knots or twists.
- Add greenery and a bow.
- Attach a hanging ribbon.
Sound effect: Every door movement jingles like Santa’s sleigh.
12. Felt Candy Ornaments
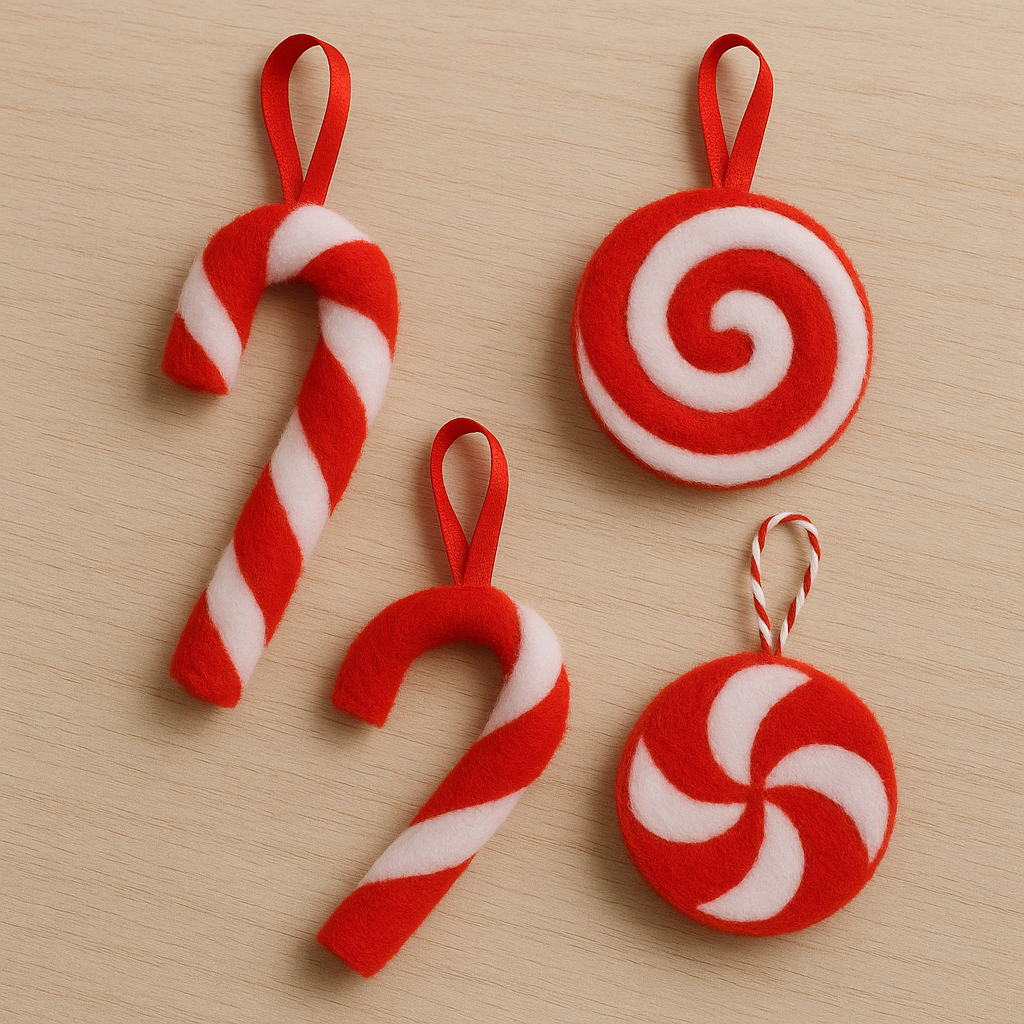
Materials:
- Red and white felt
- Glue
- Ribbon or twine
Instructions:
- Cut long felt strips and twist red with white.
- Shape into candy canes or swirl rounds.
- Glue to secure and add a hanging loop.
Result: Lightweight and safe for toddlers’ trees.
13. Tin Can Christmas Tree
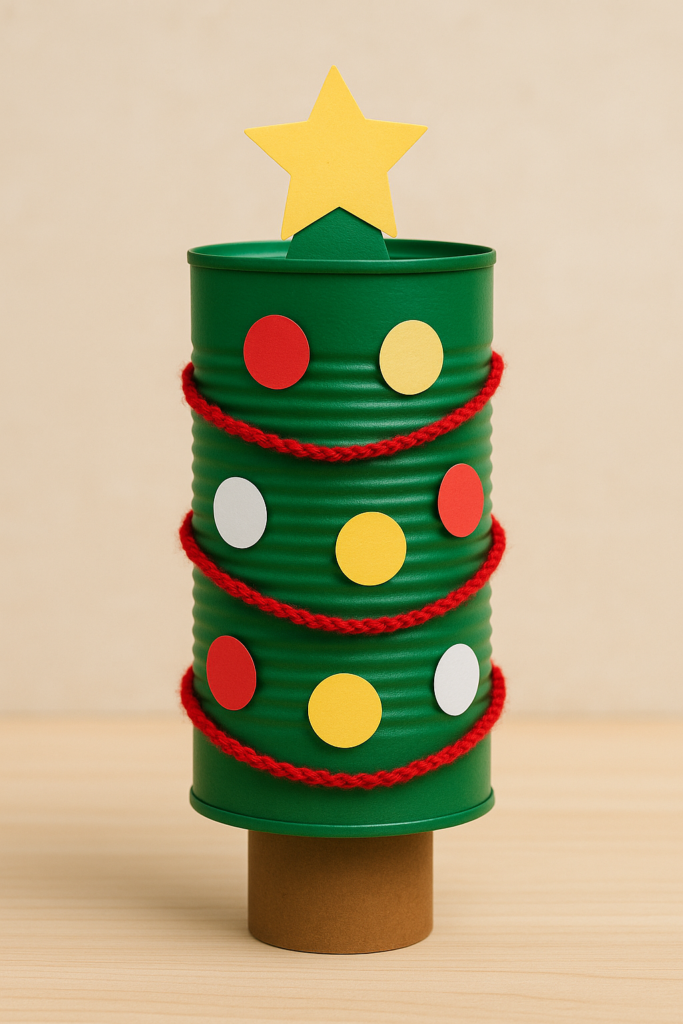
Materials:
- 3 tin cans (different sizes)
- Green paint
- Glue, ribbon, decorations
Instructions:
- Paint each can green and allow to dry.
- Stack largest to smallest, gluing in place.
- Add decorations and a star on top.
Eco twist: A fun upcycling project using everyday materials.
14. Beaded Snowflake Ornaments
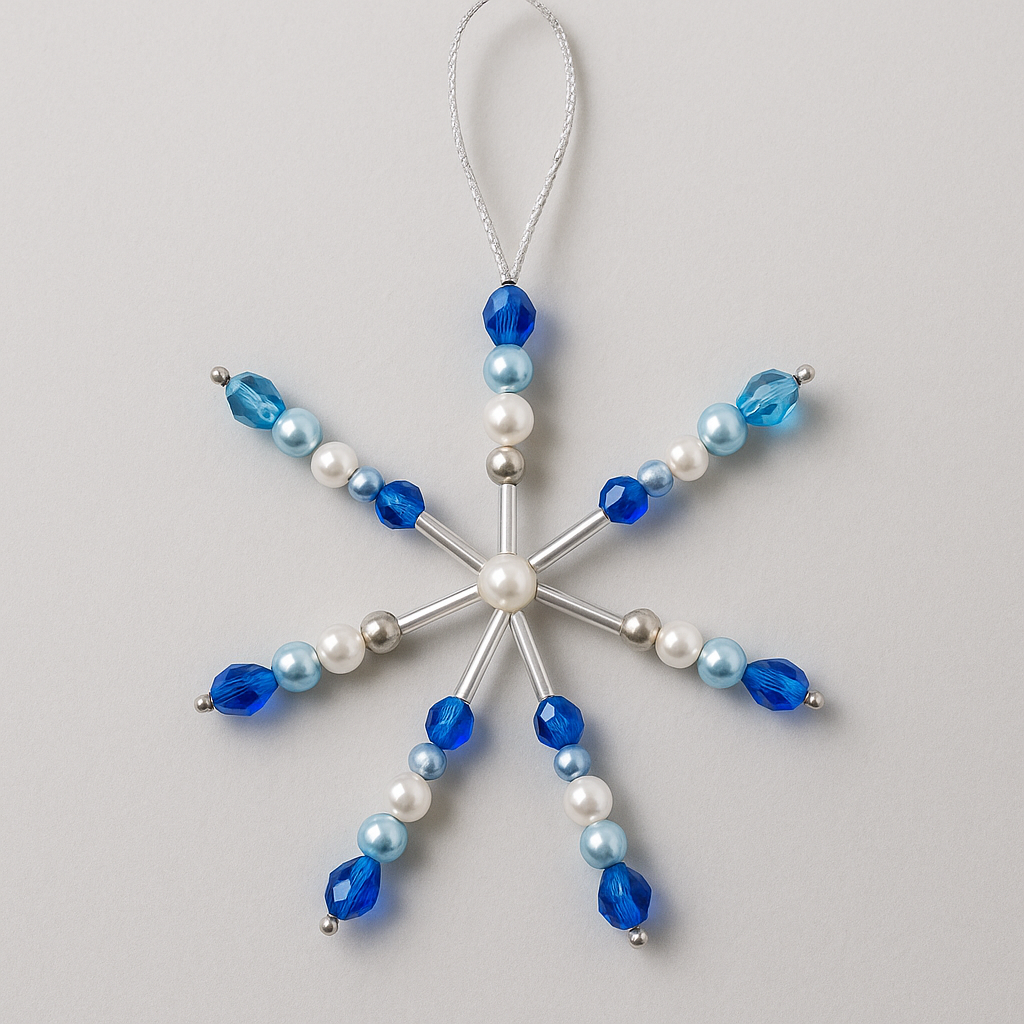
Materials:
- Thin craft wire
- Beads (clear, silver, or colored)
- Scissors or pliers
Instructions:
- Cut six equal wire lengths and twist at the center.
- String beads on each arm, then twist ends.
- Add a thread loop for hanging.
Result: Sparkly ornaments that catch light beautifully.
15. Glitter Globe Ornament

Materials:
- Clear plastic bauble
- Glitter, sequins, paper cutouts
- Funnel, glue
Instructions:
- Remove the bauble’s top and fill it with glitter or sequins.
- Add tiny cutouts—stars, hearts, even mini photos.
- Replace top and shake to distribute.
Variation: Add a name tag to personalize.
16. Popsicle Stick Snowman
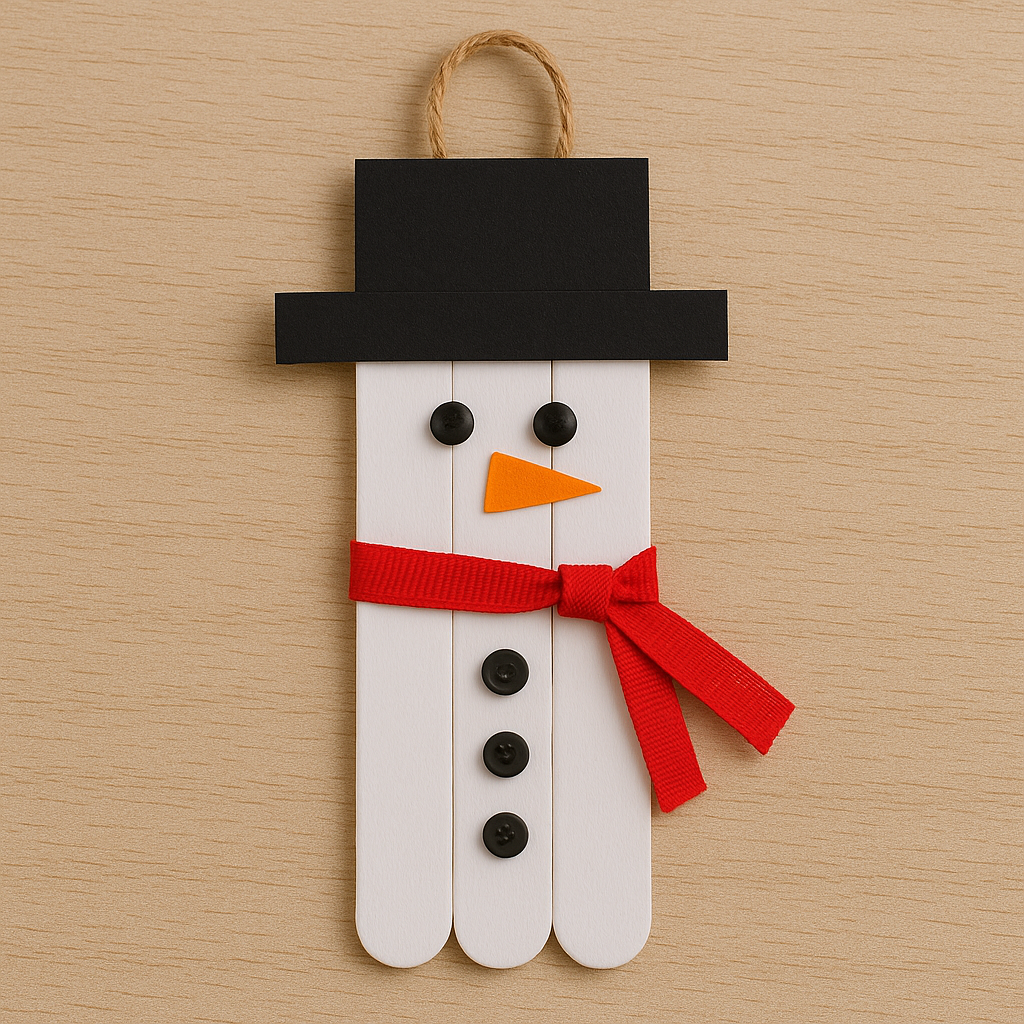
Materials:
- Popsicle sticks
- White paint
- Buttons, ribbon, black paper, glue
Instructions:
- Paint sticks white and glue three side by side.
- Add a black paper hat and small button eyes.
- Tie a ribbon scarf below the face.
Result: Cute, durable decorations for class or home.
17. Pinecone Reindeer
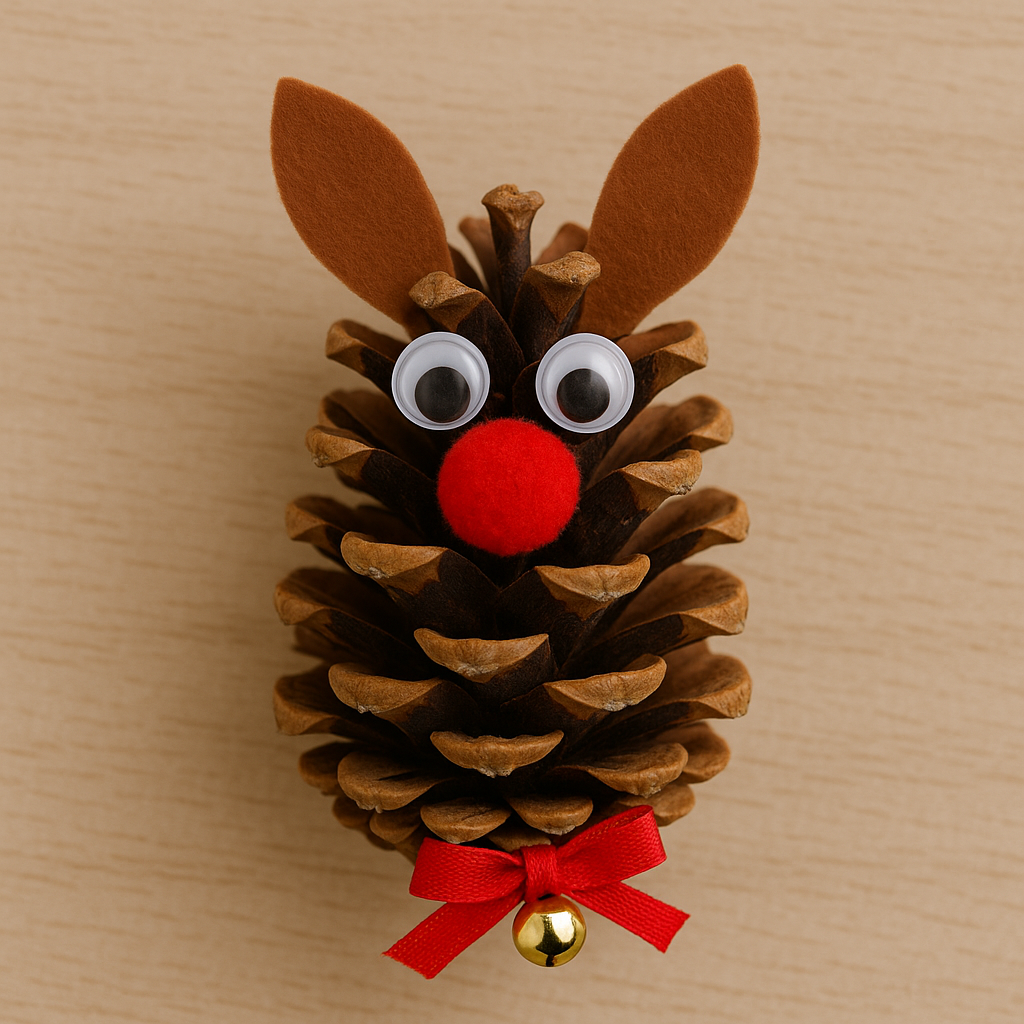
Materials:
- Pinecones
- Brown felt (ears)
- Googly eyes, red pom-pom nose
- Glue
Instructions:
- Glue eyes and nose on the pinecone front.
- Cut felt ears and attach at the top.
- Optional: tie a mini bell ribbon around its “neck.”
Nature note: A great craft for forest walks or outdoor learning.
18. Christmas Countdown Chain
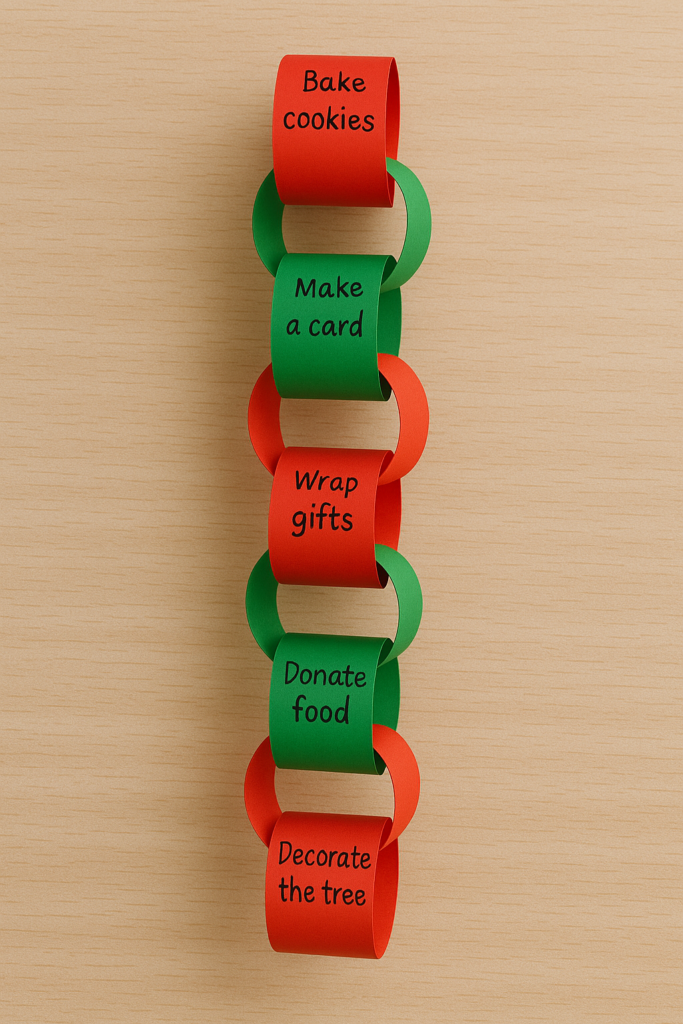
Materials:
- Red and green paper strips
- Marker, glue, scissors
Instructions:
- Write an activity or kind act on each strip.
- Loop and glue strips into a chain.
- Remove one each day until Christmas!
Purpose: Encourages daily kindness or family bonding.
19. DIY Christmas Pom-Pom Tree Garland for kids
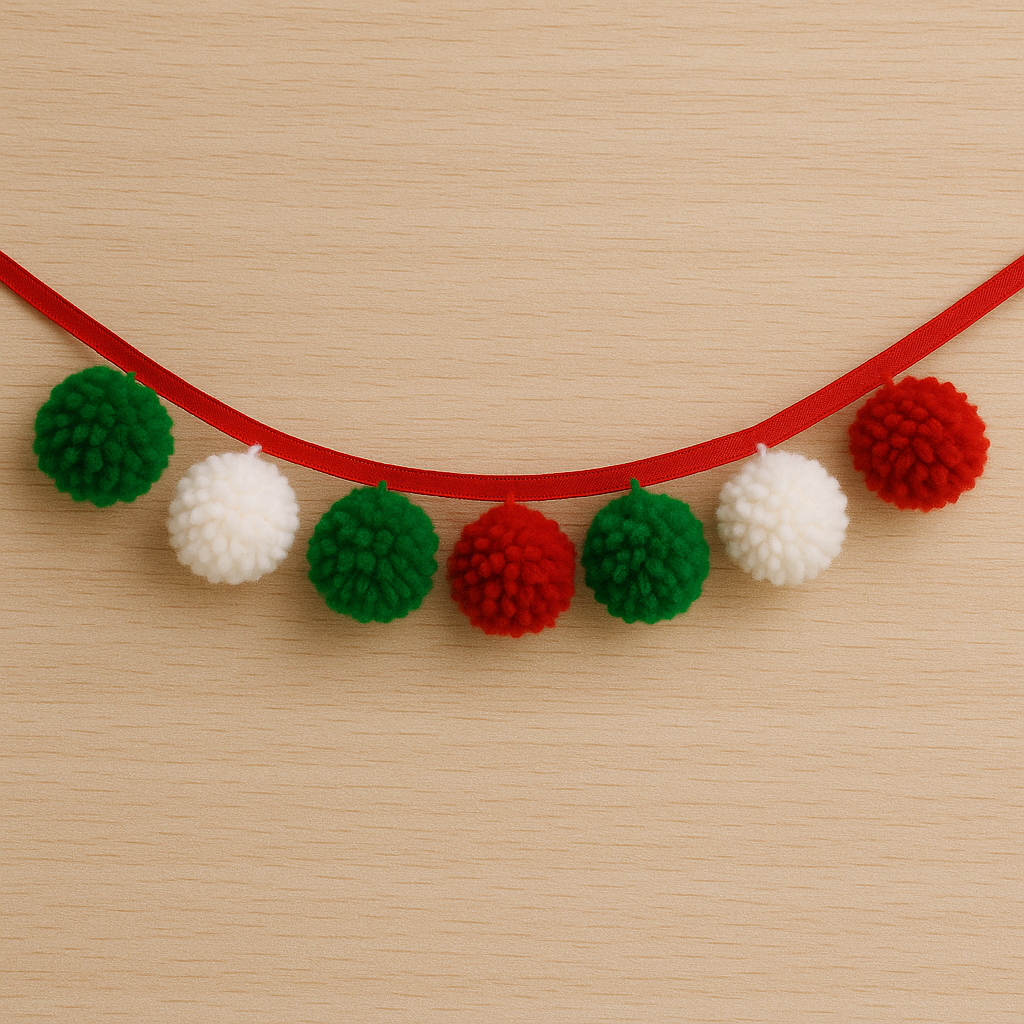
Materials:
- Yarn pom-poms (green, red, white)
- Needle or thread
- Ribbon
Instructions:
- Thread pom-poms onto ribbon in a color pattern.
- Hang on walls, mantels, or kids’ rooms.
20. Mini Gift Box Ornaments
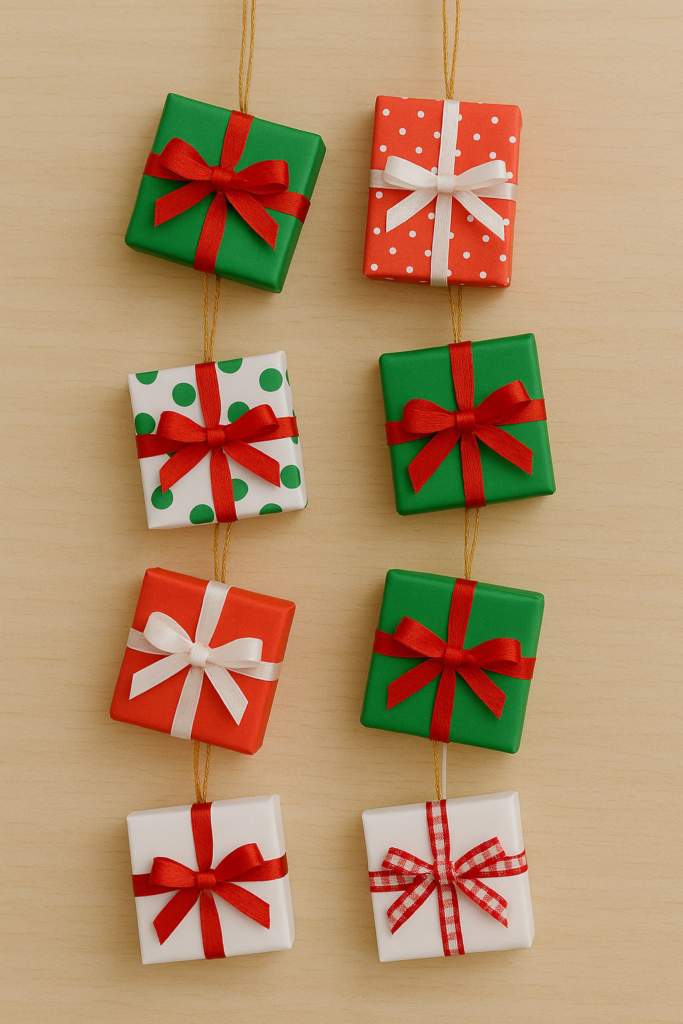
Materials:
- Small empty boxes (matchboxes or jewelry boxes)
- Wrapping paper, ribbon, tape
Instructions:
- Wrap the boxes neatly like real gifts.
- Add ribbons and bows.
- Attach a thread loop to hang.
Result: Adorable tree fillers that double as tiny surprises.
21. Christmas Slime
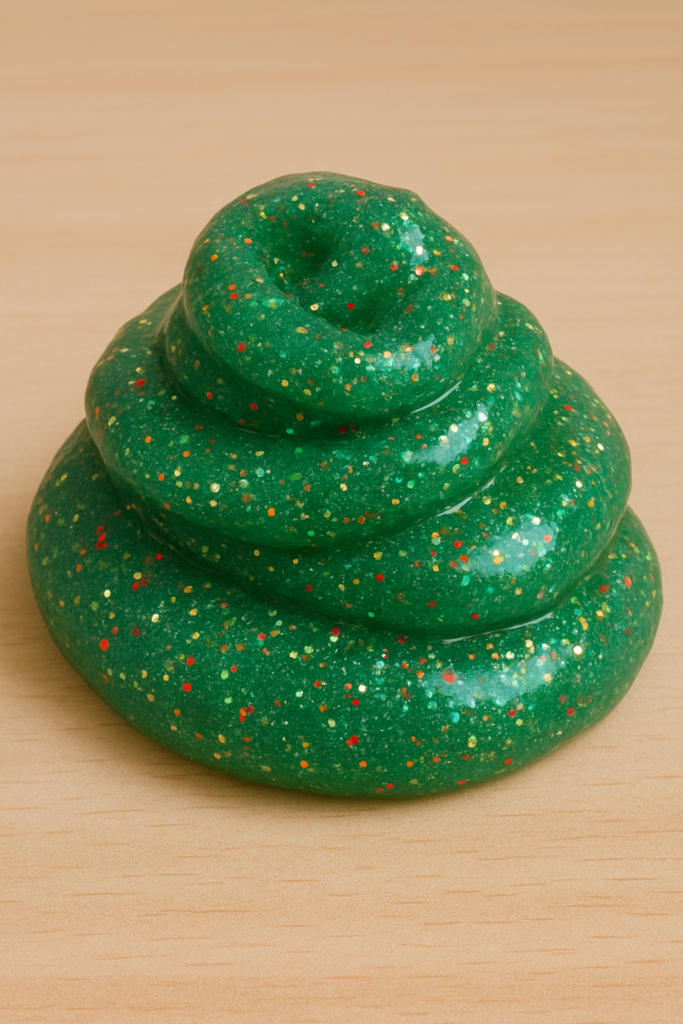
Materials:
- Clear glue, glitter, food coloring, saline solution, baking soda
Instructions:
- Mix ½ cup glue, ½ tsp baking soda, and a few drops of color.
- Add glitter generously.
- Add saline slowly while kneading until slime forms.
Storage: Airtight container—lasts weeks!
22. Nativity Scene Silhouettes

Materials:
- Black paper, scissors, glue
- Blue background sheet
- Gold star stickers
Instructions:
- Cut simple silhouette shapes of Mary, Joseph, and baby Jesus.
- Glue them against the blue background.
- Decorate sky with stars.
Result: A meaningful craft that helps explain the story of Christmas.
23. Cotton Ball Santa Beard
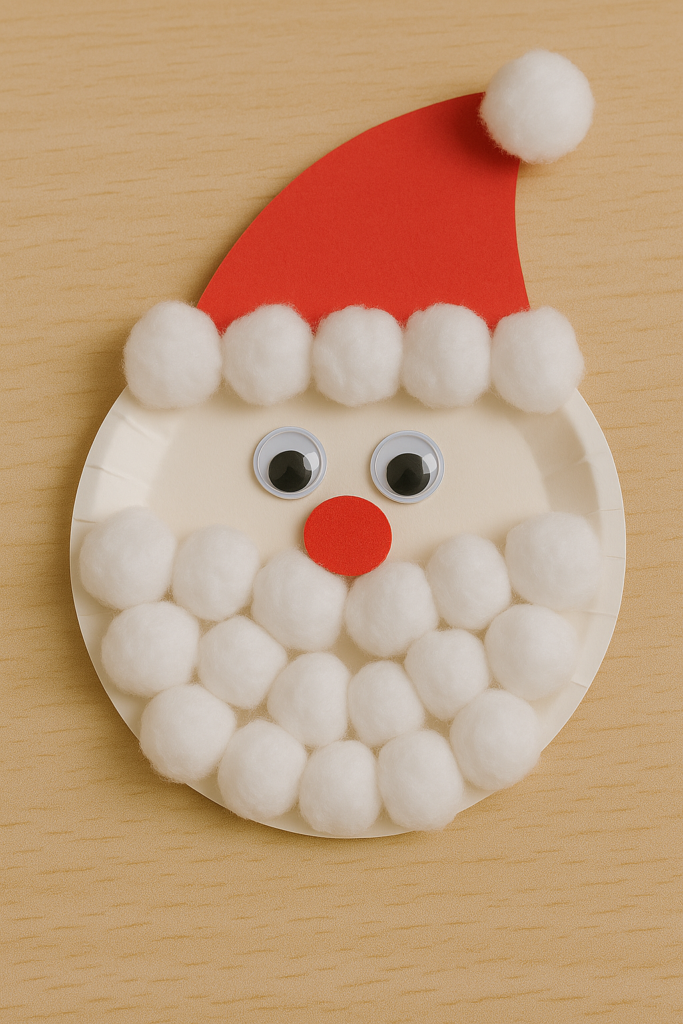
Materials:
- Paper plate
- Red paper hat
- Cotton balls
- Glue
Instructions:
- Cut out a semicircle from the plate for Santa’s face.
- Glue cotton balls for the beard and hat trim.
- Add googly eyes and a red paper nose.
24. Gingerbread Paper Houses
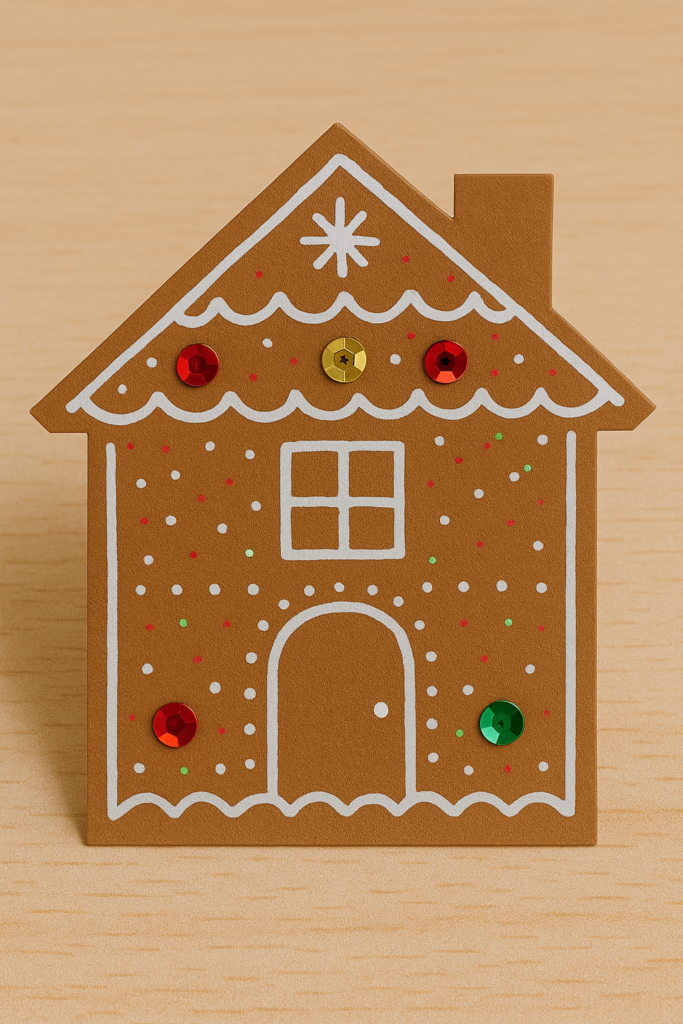
Materials:
- Brown cardstock
- White paint pen
- Stickers, sequins
Instructions:
- Cut house shapes and draw icing designs with white paint pen.
- Decorate with sequins as “candies.”
- Hang or use for a paper village display.
25. Snow Globe in a Jar
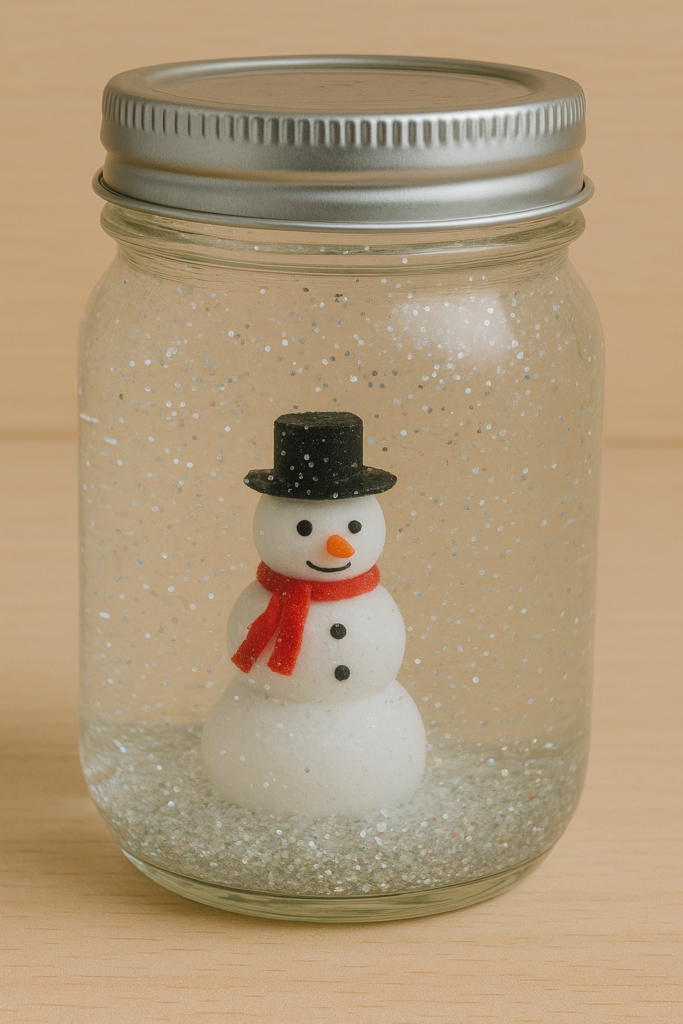
Materials:
- Small jar with lid
- Figurine or plastic toy
- Glitter, water, glycerin
Instructions:
- Glue the figurine to the jar lid and let dry.
- Fill the jar with water, a dash of glycerin, and glitter.
- Screw on the lid tightly and shake.
Result: A magical, snowing keepsake that fascinates kids every time.
Final Thoughts: Crafting Joy One Glitter Speck at a Time
These easy and simple Christmas crafts for kids transform ordinary afternoons into magical memories. Whether you’re preparing classroom projects, family weekends, or last-minute gifts, every one of these crafts delivers both fun and meaning.
Keep materials simple, celebrate imperfection, and remember—the best Christmas crafts aren’t about perfection, they’re about connection.
You might also be interested in:
10 Fun Christmas Crafts for Kids (Step-by-Step Instructions)